Best Flower Photography Tips
Capturing the beauty of flowers through photography can be both an art and a science. Did you know that searches for flower photography ideas have increased by 25% in the last year? This growing interest highlights the joy and satisfaction that people find in photographing blooms. Whether you’re a beginner or a seasoned photographer, understanding the nuances of flower arrangement and lighting can make a significant difference in your photos.
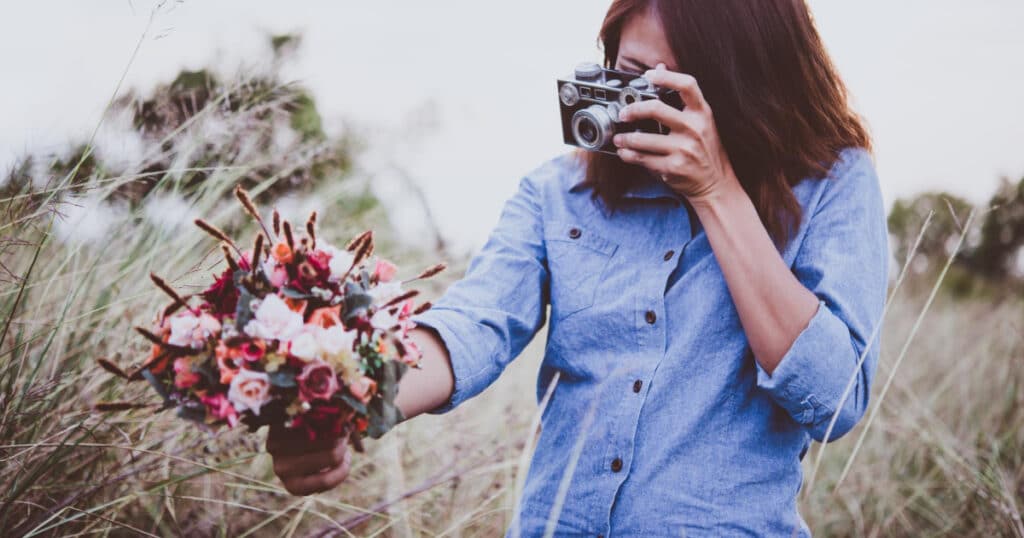
In this guide, we’ll explore various techniques to enhance your flower photography. From mastering lighting to choosing the right background, these tips will help you capture stunning images that truly reflect the beauty of your floral subjects. Let’s explore the world of flower photography ideas and transform your shots from ordinary to extraordinary.
Top Flower Photography Tips
Capturing the beauty of flowers requires more than just a good camera. Here are some essential flower photography tips to help you create stunning images of Flower Bouquets and Bonsai Plants.
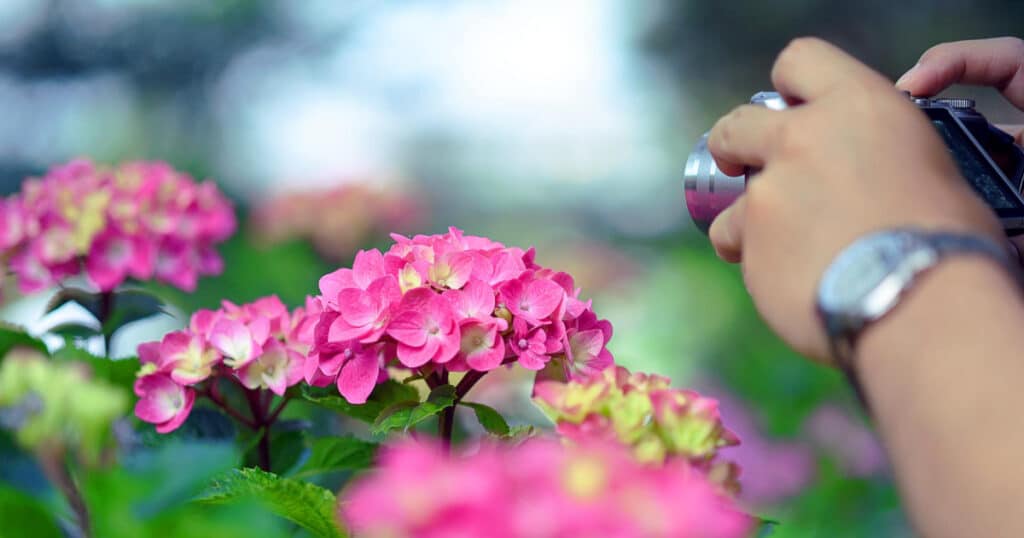
First, consider your composition. For flower bouquets, try different angles and perspectives. Shooting from above can showcase the arrangement’s symmetry, while a side view can highlight the depth and variety of flowers. Use a shallow depth of field to blur the background, making the bouquet the focal point. This technique works particularly well with colorful and intricate bouquets, allowing each flower to stand out.
For bonsai plants, focus on the details. Bonsai plants have unique shapes and textures that deserve close attention. Get in close to capture the intricate patterns of the leaves and the texture of the bark. Use natural light whenever possible to bring out the plant’s true colors and details. Early morning or late afternoon light is ideal, as it is soft and diffused, avoiding harsh shadows that can detract from the delicate beauty of the bonsai.
The Best Times Of Day For Flower Photography
Timing can significantly impact the quality of your flower photos. The best times of day for flower photography are early morning and late afternoon. These periods, known as the golden hours, offer soft, diffused light that can enhance the natural beauty of your floral subjects.
Early morning is particularly advantageous for capturing flowers like the Morning Dew vase arrangement. The light is gentle, the shadows are minimal, and the morning dew adds a magical touch to your shots. The dew drops on petals can create a beautiful sparkle, making your photos appear fresh and vibrant.
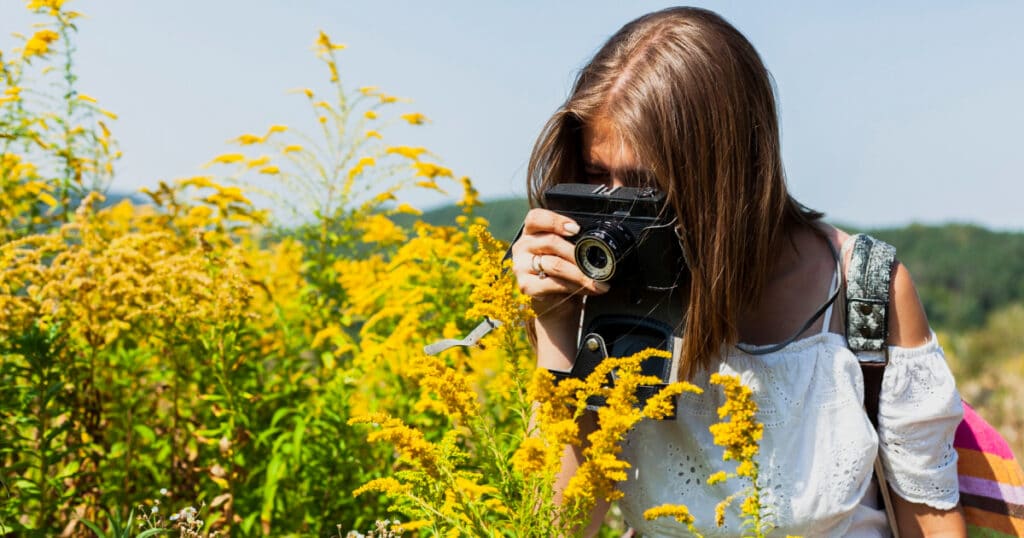
Late afternoon, just before sunset, also provides excellent lighting conditions. The warm tones of the setting sun can add a golden glow to your Blossom Candy vase arrangement. This time of day is perfect for highlighting the rich colors and intricate details of your flowers, creating a serene and enchanting atmosphere in your photographs.
Understanding Lighting and Timing
Lighting and timing are crucial elements in flower photography, dramatically influencing the final image’s quality and appeal. When photographing an Orange Tulip Bouquet, paying attention to these aspects can make a significant difference.
Natural light is your best friend in flower photography. Early morning and late afternoon, known as the golden hours, provide soft, diffused light that enhances the delicate features of flowers without casting harsh shadows. This lighting is perfect for capturing the vibrant hues of an Orange Tulip Bouquet, making each petal glow with natural radiance. Avoid midday sun as it can be too harsh, creating unwanted glare and deep shadows that can obscure the flower’s details.
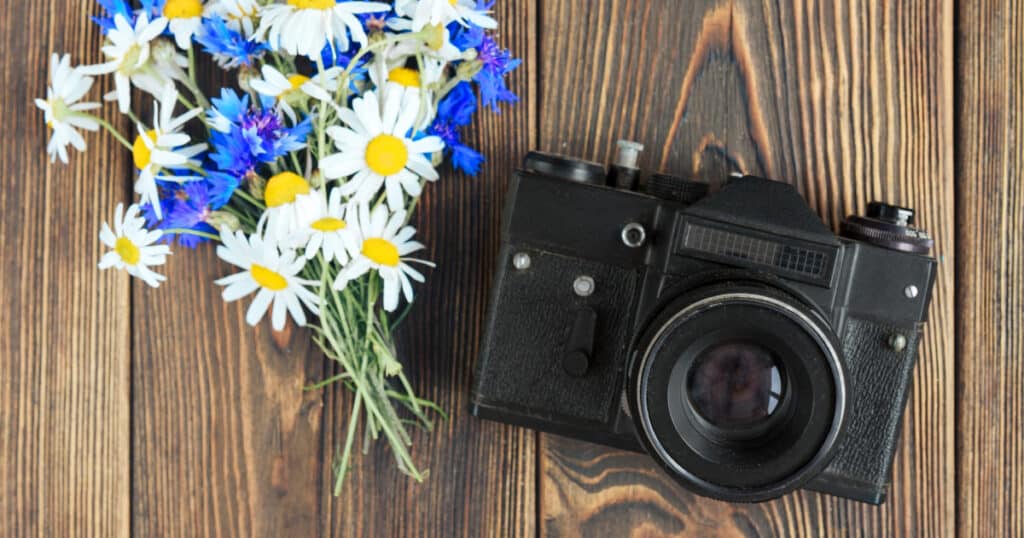
Timing is also essential in ensuring your flowers look their best. Photographing flowers shortly after they bloom can capture their freshness and vibrancy. For an Orange Tulip Bouquet, early morning shots can capture the dew on the petals, adding an extra layer of beauty and freshness to your photos.
If you miss the morning light, the late afternoon also offers soft, warm light that can bring out the rich, warm tones of tulips. Experiment with different times of the day to see how the light changes the appearance of your bouquet, and find the timing that best enhances the natural beauty of your flowers.
Choosing the Right Background
Selecting the right background is essential for making your flower photography stand out. A well-chosen background can enhance the beauty of your subject, like the vibrant Blue Bubble Bouquet, and ensure it remains the focal point of the image.
A simple, uncluttered background is often the best choice. Neutral colors such as white, beige, or soft pastels can provide a clean canvas that highlights the rich hues of the Blue Bubble Bouquet without competing for attention.
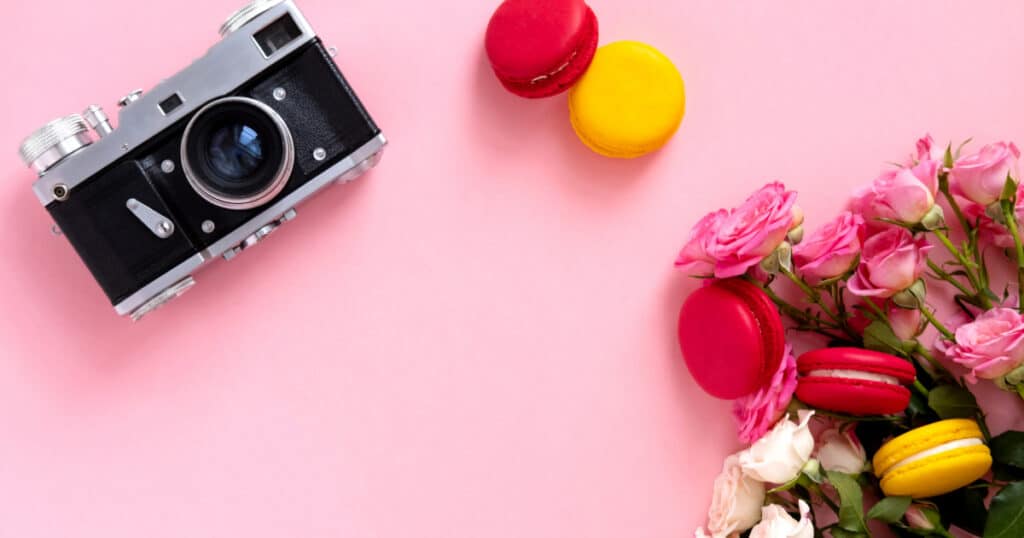
If you’re shooting outdoors, look for natural settings like a lush green garden or a rustic wooden fence that can complement the bouquet’s colors. Avoid backgrounds that are too busy or colorful, as they can distract from the flowers and make the photo appear chaotic.
Another effective technique is to use contrasting colors. For example, placing the Blue Bubble Bouquet against a background with warm tones like soft yellows or oranges can make the blue tones pop, creating a striking visual contrast.
You can also experiment with different textures, such as a smooth fabric backdrop or a rough stone wall, to add depth and interest to your photos. By thoughtfully choosing your background, you can ensure that your flower photography captures the stunning beauty of each bouquet, making every detail shine.
Mastering Focus and Depth of Field
Achieving the perfect focus and depth of field can elevate your flower photography, making your images truly stand out. When photographing intricate arrangements like the Raisin Purple Bouquet, mastering these techniques will ensure every detail is beautifully captured.
Focus is crucial in flower photography. To highlight the delicate features of the Raisin Purple Bouquet, use your camera’s manual focus setting. This allows you to precisely control which part of the flower is the sharpest. Typically, you’ll want to focus on the center of the flower or an interesting petal to draw the viewer’s attention. Using a tripod can also help maintain stability and sharpness, especially when taking close-up shots.
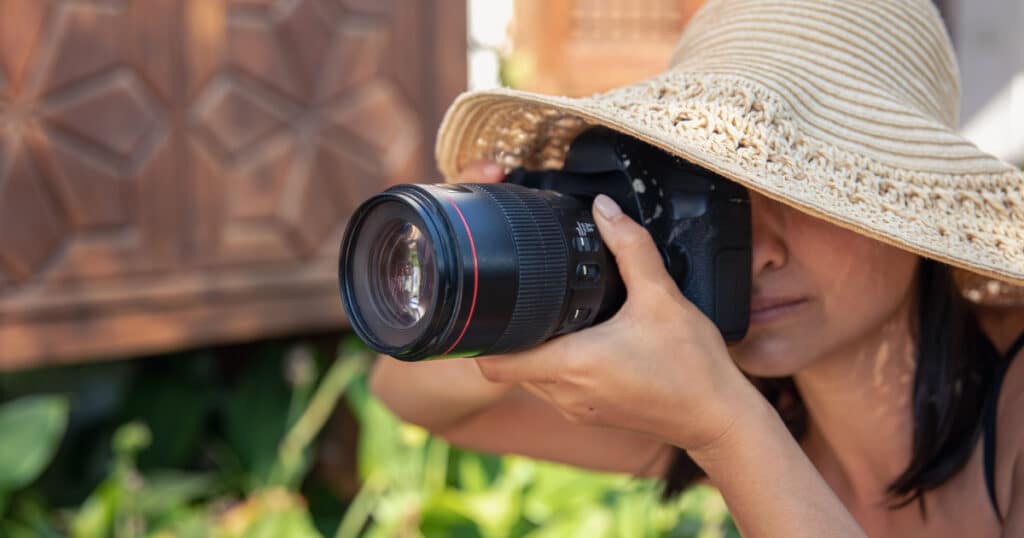
Depth of field (DoF) refers to the range of distance within the subject that appears acceptably sharp. A shallow depth of field can create a stunning effect by blurring the background and making the Raisin Purple Bouquet stand out sharply against it. To achieve this, use a wide aperture (a small f-number, such as f/2.8 or f/4).
This technique not only isolates the bouquet but also adds a professional touch to your photos by emphasizing the bouquet’s vibrant colors and intricate details. Conversely, if you prefer a deeper focus to capture the entire arrangement in sharp detail, opt for a smaller aperture (a larger f-number, such as f/11 or f/16). Experimenting with these settings will help you find the perfect balance to showcase the beauty of your floral subjects.
Utilizing Angles and Perspectives
Exploring different angles and perspectives can transform your flower photography from ordinary to extraordinary. When photographing an arrangement like the Blush Bubble Bouquet, changing your viewpoint can highlight its unique features and create more dynamic images.
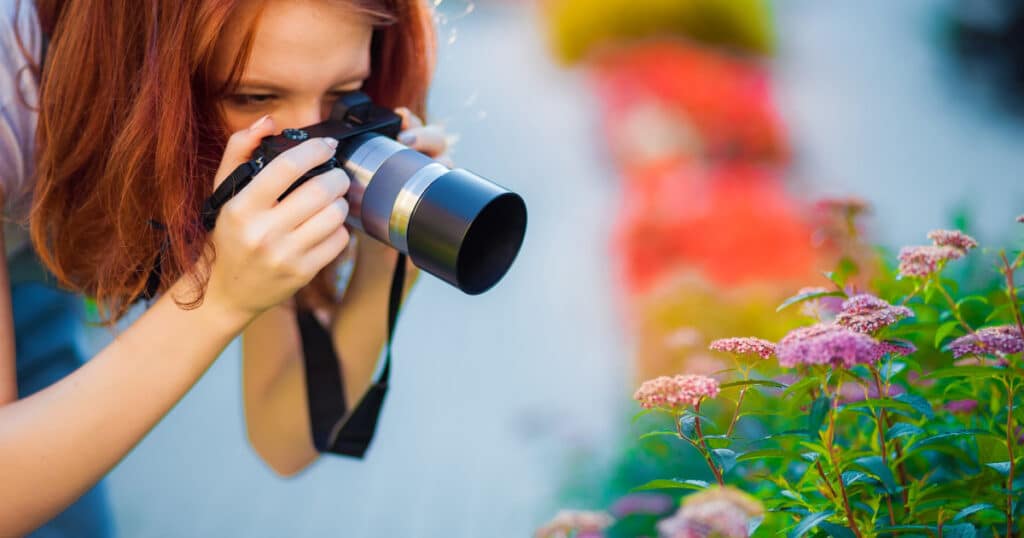
Start by photographing the Blush Bubble Bouquet from various angles. Instead of always shooting straight on, try getting down to the bouquet’s level or even below it. This upward angle can give the flowers a majestic appearance and emphasize their height and structure. Alternatively, capturing the bouquet from above can create a stunning, symmetrical image that showcases the arrangement’s overall design and color distribution.
Enhancing Colors and Textures
When photographing flowers like those in a Tulip Basket, enhancing their colors and textures can elevate your images and create captivating visual experiences. Here are some tips to make the most of color and texture in your flower photography:
Take advantage of natural light to showcase the vibrant colors of the Tulip Basket. Soft, diffused light enhances the natural hues of the flowers and brings out their intricate textures. Consider shooting outdoors or near a window where the sunlight is indirect for the best results.
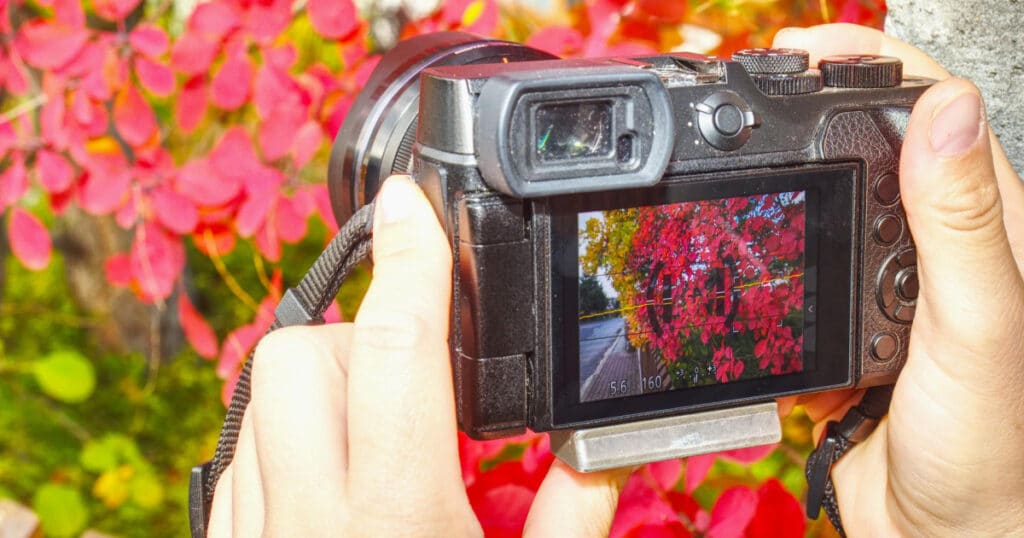
Contrast can make the colors in your Tulip Basket pop and add visual interest to your photos. Look for complementary or contrasting colors in the bouquet and its surroundings to create dynamic compositions. For example, placing the Tulip Basket against a neutral backdrop can make its colors stand out even more.
Editing and Post-Processing Techniques
After capturing stunning images of your Spray Rose Vase Arrangement, it’s time to enhance them further through editing and post-processing. Here are some techniques to consider:
Color Correction: Correct any color inconsistencies or balance issues in your Spray Rose Vase Arrangement photo. Use the white balance tool to neutralize any unwanted color casts and ensure that the colors of the flowers appear true to life.
Sharpening Details: Enhance the sharpness and clarity of your Spray Rose Vase Arrangement photo to make the details of the flowers and vase stand out. Use the sharpening tool to increase the overall crispness of the image without introducing noise.
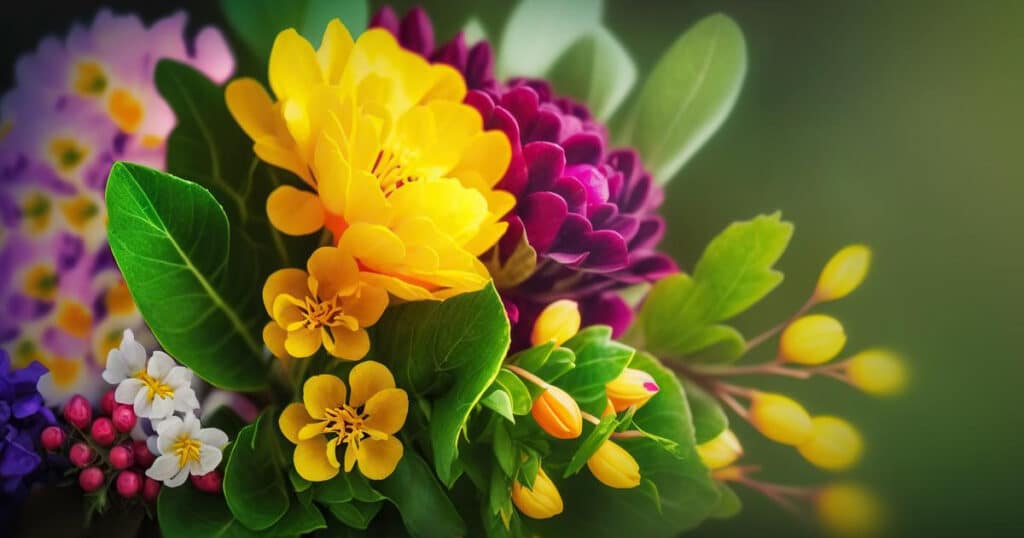
Cropping and Composition: Experiment with cropping and composition to refine the framing of your Spray Rose Vase Arrangement photo. Remove any distracting elements from the background and adjust the composition to create a visually pleasing arrangement.
Adding Filters and Effects: Explore different filters and effects to add artistic flair to your Spray Rose Vase Arrangement photo. Experiment with vintage filters, black-and-white conversions, or creative effects to enhance the mood and aesthetic of the image.
Creative Flower Photography Ideas
Play with different lighting techniques to add drama and depth to your flower photography. Experiment with backlighting, side lighting, or even artificial lighting setups to highlight the textures and shapes of the flowers in the Red Love Heart Box.
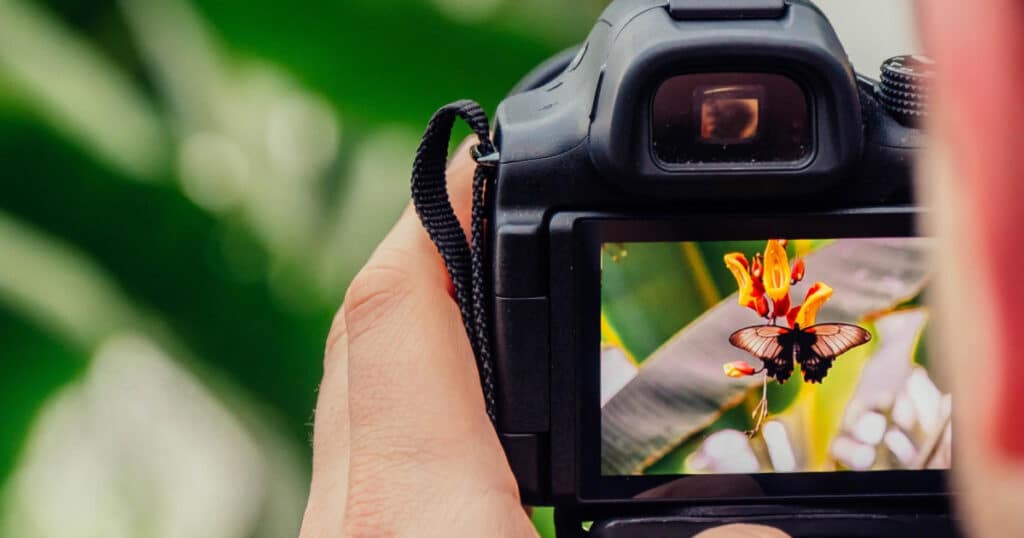
Incorporate reflections into your flower photography for added visual interest. Place the Red Love Heart Box near reflective surfaces such as water, glass, or mirrors, and capture images that feature both the flowers and their mirrored reflections, creating captivating compositions.
Break free from traditional composition rules and explore abstract photography techniques with the Red Love Heart Box. Experiment with shallow depth of field, intentional blurring, and unconventional angles to create artistic and visually intriguing images of the flowers.
Incorporating Water Droplets
Adding water droplets to your flower photography can enhance the visual appeal of your images, creating a sense of freshness and vibrancy. Incorporating water droplets is a simple yet effective technique that can elevate the beauty of flowers like those nurtured by the Lily Water Plant and Birkin Water Plant. Position the Lily Water Plant and Birkin Water Plant in a way that allows the droplets to catch the light and draw the viewer’s eye. Experiment with different angles and perspectives to find the most visually appealing composition.
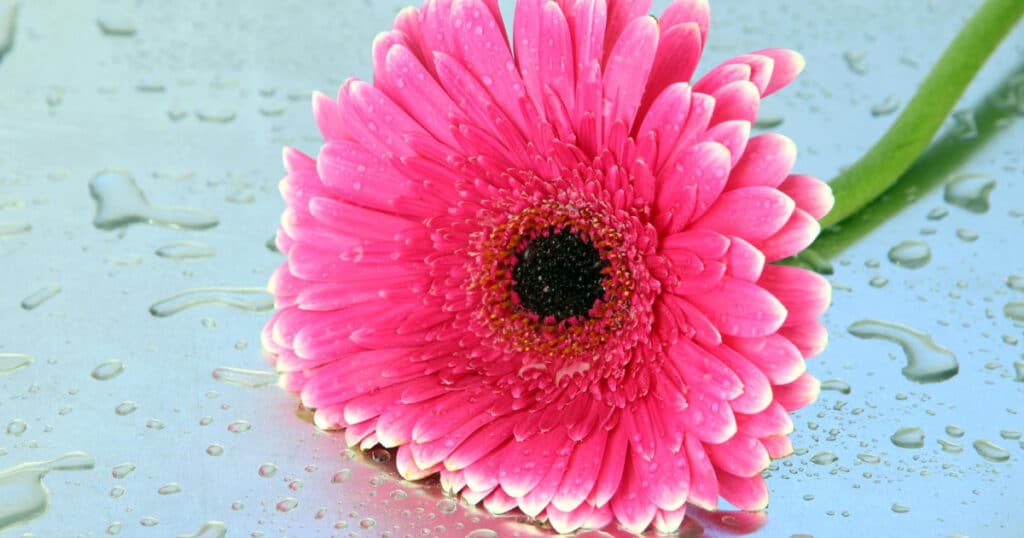
By incorporating water droplets into your flower photography, you can add an element of freshness and visual interest to your images, showcasing the natural beauty of flowers like those nurtured by the Lily Water Plant and Birkin Water Plant in a captivating way. Experiment with different techniques and lighting conditions to unleash your creativity and capture stunning photos that showcase the delicate beauty of water-adorned blooms.
Playing with Depth of Field
Depth of field is a powerful tool for creative expression in flower photography. Whether you prefer a softly blurred background to evoke a sense of tranquility or a crisp, detailed image that showcases every petal, experimenting with depth of field allows you to infuse your photographs with your unique artistic vision. Let your creativity guide you as you explore different aperture settings and compositions to capture stunning images of the Love Affair Flower Box and Scarlet Flower Box that truly stand out.
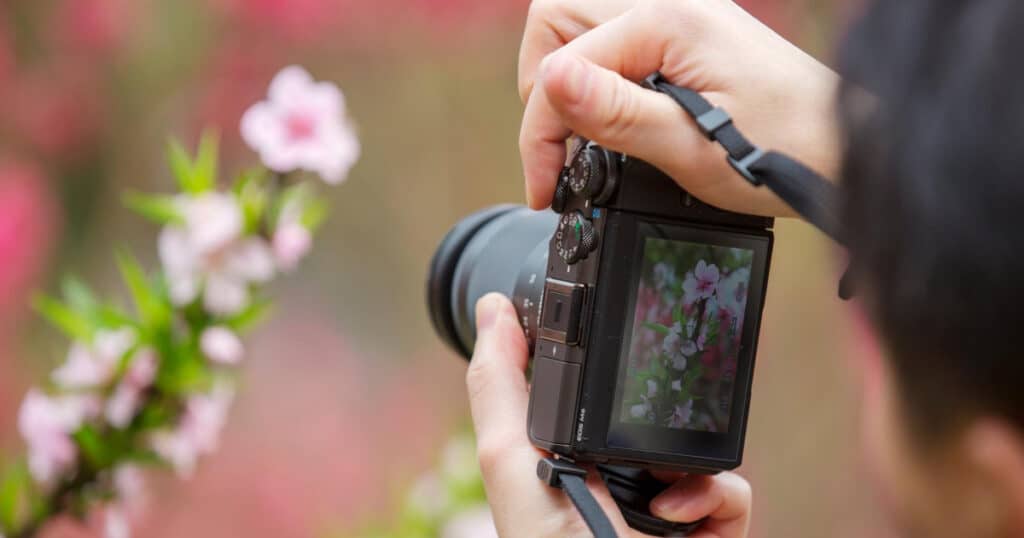
By understanding and mastering depth of field in your flower photography, you can elevate your images to new heights, creating visually striking compositions that captivate viewers and showcase the beauty of the Love Affair Flower Box and Scarlet Flower Box in all their glory. Experiment with aperture settings, selective focus, and composition techniques to unlock the full creative potential of depth of field and capture stunning photographs that leave a lasting impression.
Final Thought
Mastering flower photography requires a combination of technical skill, artistic vision, and creative experimentation. By incorporating the tips and techniques outlined in this guide, you can elevate your floral images to new heights and capture the beauty of flowers in stunning detail. From understanding lighting and composition to mastering depth of field and post-processing, each aspect of flower photography plays a crucial role in creating captivating images that resonate with viewers.
Remember to explore different angles, perspectives, and settings to discover your unique style and vision as a photographer. Whether you’re capturing the delicate petals of a rose bouquet or the vibrant colors of a tulip arrangement, let your creativity guide you and allow the natural beauty of flowers to shine through in your photographs.
With practice and patience, you’ll hone your skills and develop a portfolio of breathtaking flower images that reflect your passion for photography and appreciation for nature’s beauty. So grab your camera, head outdoors or set up your studio, and embark on an exciting journey of capturing the timeless elegance and charm of flowers through your lens. Happy shooting!
FAQs
What equipment do I need for flower photography?
A DSLR or mirrorless camera with a macro lens is ideal, but even a smartphone can capture stunning flower images.
How important is lighting in flower photography?
Lighting is crucial; natural light is best, but diffused artificial light can also work well.
What are some composition tips for flower photography?
Experiment with different angles, perspectives, and framing to create visually interesting compositions.
How can I achieve a blurry background in my flower photos?
Use a wide aperture (low f-stop number) to create a shallow depth of field and blur the background.
What are some post-processing techniques for enhancing flower photos?
Adjust contrast, saturation, and sharpness; remove distractions; and enhance colors using photo editing software.
How can I add creativity to my flower photography?
Experiment with unique angles, perspectives, and creative techniques like using water droplets or playing with depth of field.
What are some common mistakes to avoid in flower photography?
Overexposure, underexposure, poor composition, and distracting backgrounds are common pitfalls to watch out for.
How can I make my flower photos stand out on social media?
Focus on capturing vibrant colors, interesting compositions, and unique perspectives that grab viewers’ attention.
What are some tips for photographing flowers indoors?
Use diffused natural light, a tripod for stability, and a reflector to bounce light onto the flowers.
How can I capture the intricate details of flowers in my photos?
Use a macro lens or the macro mode on your camera to get up close and capture fine details.
What are some creative ideas for flower photography projects?
Experiment with different themes, such as seasonal flowers, close-up details, or abstract compositions.
How can I improve my flower photography skills over time?
Practice regularly, study the work of other photographers for inspiration, and don’t be afraid to experiment and learn from your mistakes.
